Now it’s time to import the Realm code!
- In the template, you have a field called “Path to Realm code”. Go to that directory - you should be inside a directory called WildAidDemo.
- Edit
config.jsonchange “name” to your “Realm App Name” - Edit these 2 files:
services/RealmSync/config.json,services/mongodb-atlas/config.json
and change the value of “ClusterName” to your “Atlas Cluster Name” - If you are not using AWS, skip this step. If you are, edit the following files and fill in all the relevant details:
values/awsRegion.json,values/destinationEmailAddress.json,values/sourceEmailAddress.json - If you are not using AWS, skip this step. If you are, set accessKeyID and secretAccessKey in the file:
services/AWS/config.json - Do the import, confirm with ‘y’ when prompted to confirm changes. You will paste your Realm App ID into –app-id:
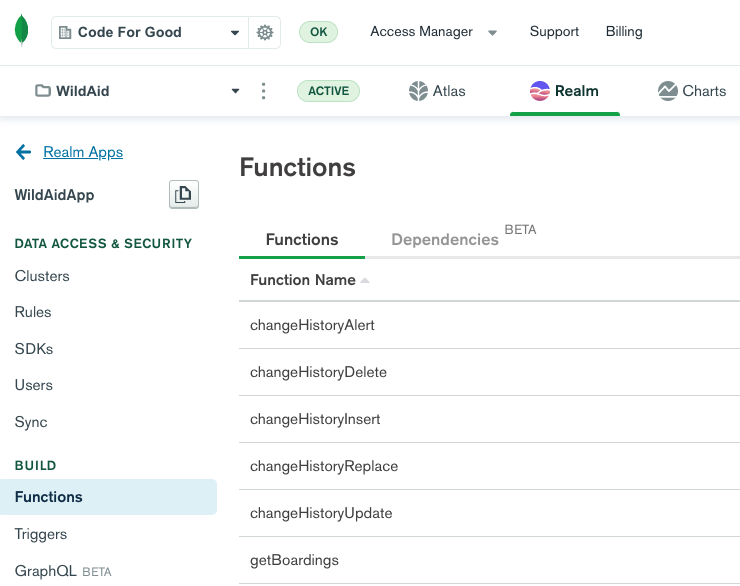
realm-cli import --strategy=replace --include-dependencies --app-id=REALM_APP_ID - Verify the code got imported by going to the Realm App and clicking “Functions” on the left-hand side. You should see several functions, as below:
You have successfully set up a Realm serverless application! You may get emails like “A Database Trigger has been Suspended”, do not worry about that for now.
It’s time to connect Realm to your data by creating a user!