You have imported your Realm app! Now, let’s create a Realm user…
- Add a Realm user - this will be the global administrative user who logs into your application.
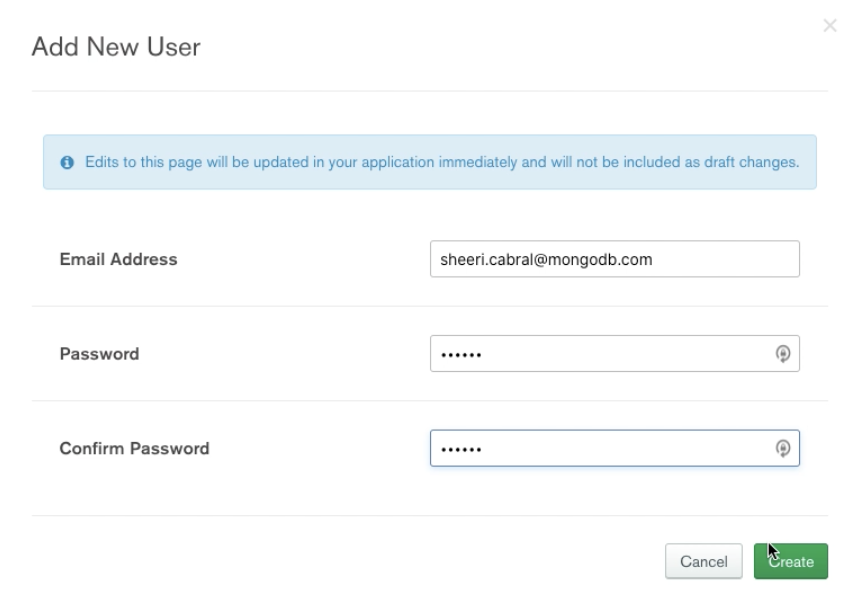
- In the Realm UI, click on ‘App Users’ under Data Access, and then click on the green “Add New User” button.

- Add an email address as the username, and add a password. Write these down in the template under “App Admin username” and “App Admin password”. As the global administrative login, you can use your email or whatever login you want for the global administrative user. The email is only used if you forget your password:
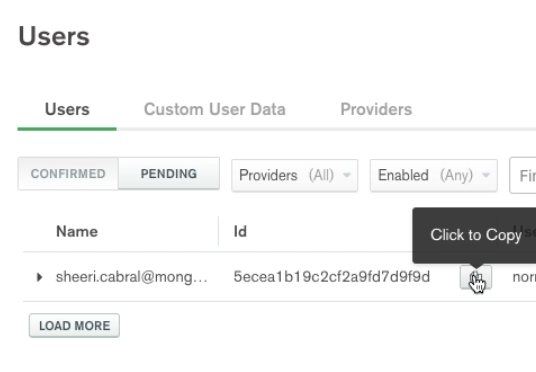
- Copy the Realm User ID and paste in the template under “Realm User ID”
- In the Realm UI, click on ‘App Users’ under Data Access, and then click on the green “Add New User” button.
- Insert a new document to the wildaid database. You will be inserting into the User collection using Compass, mongo shell or code studio integration.
The User collection does not exist, so you will need to create it in Compass. In mongoshell and your code studio integration, the collection is automatically created.
Set the email and realmUserID with the “App Admin user” and “Realm User ID”, set the agency to “WildAid” (for testing) and first and last names as appropriate. Here’s an example using mongoshell:
$ mongo "mongodb+srv://ofish-xxxx.mongodb.net/wildaid" --username admin
use wildaid;
db.User.insertOne(
  {"email":"sheeri.cabral@mongodb.com",
  "name": {"first":"Sheeri", "last":"Cabral"},
  "realmUserID": "xxxxxxxxxxxxxxxxxxxxx",
  "agency": {"name":"WildAid", "admin":false},
  "global": {"admin":true}
})
and here’s a template with empty fields for copy/pasting:
db.User.insertOne(
  "email":"",
  "name": {"first":"", "last":""},
  "realmUserID": "",
  "agency": {"name":"", "admin":false},
  "global": {"admin":true}
})
Fantastic!